My childhood days are laced with fond memories of the four of us sitting around together during tea time, chatting away and munching on yummy home-made snacks. The flavour of these snacks was as diverse as our conversations! Mum used to offer us such variety in yums, without much ado, tending to our petty demands, cravings and fusses. Looking back now, I realise how much I had taken her for granted!
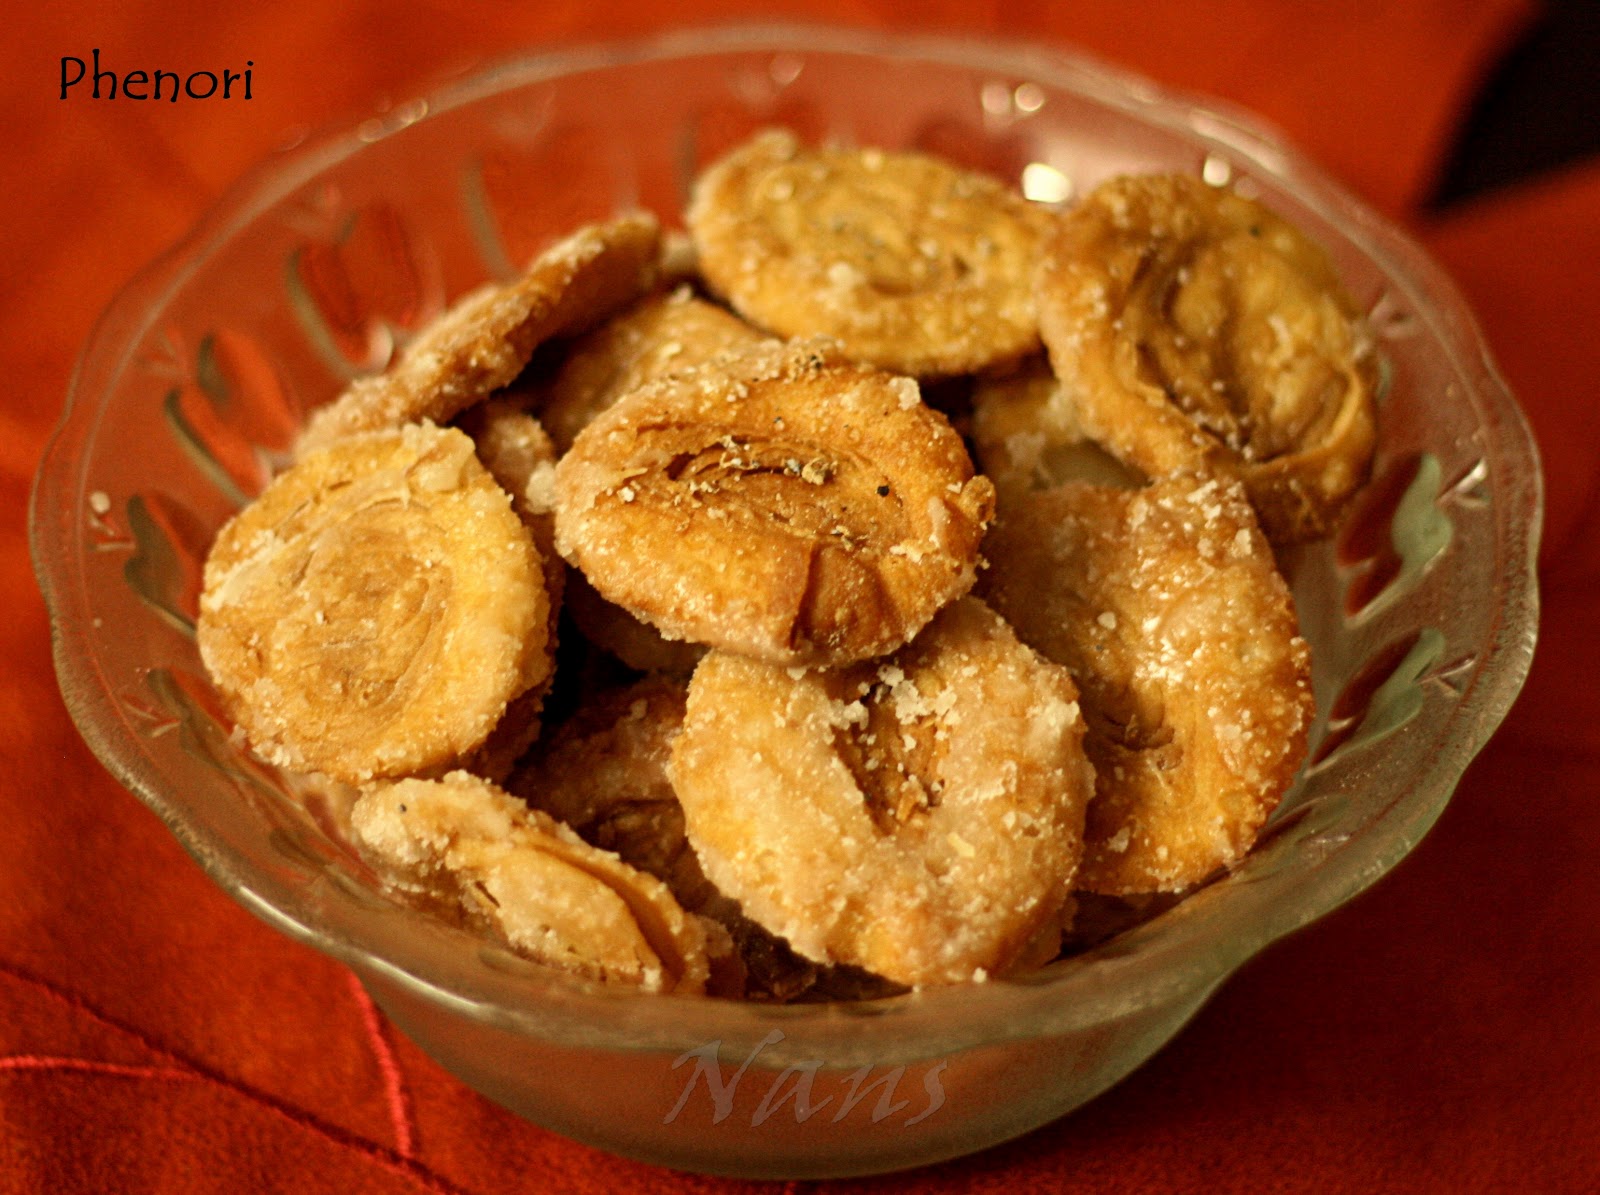
Well, as I have said before here, it is only when we step in into someone’s shoes do we truly admire them for what they are! Lately I have been stepping into mum's shoes a lot! And yesterday was yet another occasion. After a surprise discovery of a 'Mangalore store' near our home, I was reminded of this Konkani dessert, Phenori. Frankly speaking it wasn't one of my favorites back then, but now I was craving for my mum's version of this sweet that I just HAD to recreate it, in my kitchen! A quick phone call, some quick instructions and an hour later, I had this inviting bowl of sweet crispies in my hand :) As I munched on them, I was transported back in time :)

Ingredients
All Purpose Flour (Maida) - 1 cup
Water - 1 1/5 cup
Sugar - 1/2 cup
Ghee - 1 tsp
Oil - for frying
Cardamom - 3-4 pods
Method
- Kneed together maida with ghee and sufficient water to make it a hard dough, like that of poori consistency. Allow it to rest for a few minutes.

- Make small portions of it, and roll into equal sized balls.
- Flatten out each ball into very thin pooris.

- Now comes the arrangement. Place one poori on the rolling plate, smear a little ghee to coat the entire surface of the poori, and dust a little rice flour on top and place a second poori overlapping the first by about 90%.
- Repeat the ghee-smearing and rice flour dusting process for this poori as well.
- Continue this process until you have 5 pooris lined up in a row, with ghee and rice flour between each of them.

- Now, gently but firmly roll the entire arrangement into a giant roll, by starting from the first poori (from top of the lined up pooris).
- Gently press along the rolled in pooris to avoid any open ends.

- Now, cut the giant roll into tiny pieces.
- You should get about 8-10 mini cut outs.

- Gently flatten each mini cut-outs evenly, making sure the spiral design isn't wiped away.

- Deep fry these mini spirals in hot oil till they turn golden brown. Do not under fry as the insides would be cooked. Also, do not over fry as you wouldn't want your dessert to taste burnt!

- Meanwhile, make a thick sugar syrup by melting 1/2 cup of sugar in equal quantity of water and slow boiling it on medium flame.
- Stir the solution at frequent intervals until it reduces to half the quantity and you get a stringy formation if you raise the ladle from the pan.
- Switch off the flame and add in the fried spirals and mix well to ensure every bit of every spiral is covered in the sugar syrup.

- Sprinkle powdered cardamom on top and serve this yummy crunchy dessert. It taste yummiest if served warm! :)
Sending in this to Walking Through The Memory Lane event hosted by Sizzling Tastebuds
to Anu's Healthy Kitchen's "South Indian Cooking" (SIC) Series Event - # 1

Wow Nan, these have come out soo well, a bit similar to chirote?
ReplyDeleteYummm!
Thanks Gauri :) Yeah, very similar. I guess Phenori is just the konkani name/version of Chiroti :)
Deletewow lovely sweet!im making it soon
ReplyDeleteA similar version available here in toronto is called chinese biscuits. They are little twisted when rolling. I did remember about phenori when I tried the biscuit.
ReplyDeleteThanks for sharing
It took quite a bit of effort for me to get it perfect.You seem to have perfected it at the very first try-Kudos.I am craving phenori now:(
ReplyDeletesimply wow! Love the detailed and step by step method - i am actually excited to be making this :)
ReplyDeleteThanks!
Thanku Samta, hope you get to make perfect Phenoris :) Would be waiting to hear from u...! :)
DeleteHi Nandita Pai Shirali.. thank u for sharing this recipe... tried it n it came out very gud.. :) ur step by step instruction helped me a lot... the only change I made was using sugar powder instead of syrup.
ReplyDeleteAwesome Mahima Shanbhag! :) So glad my post helped u.
DeleteThis comment has been removed by the author.
ReplyDeleteLooks yummy... Love the spirals. Nice step by step presentation. Happy to follow you.
ReplyDelete